Are you tired of battling stubborn stains on your favorite shirt? Whether it’s a coffee spill or a sauce mishap, dealing with stains can be frustrating. But fret not, we’ve got you covered! In this blog post, we’ll share some tried-and-true methods on how to get stains out of white shirts effectively.
You’re not alone in facing this common laundry dilemma. Many people struggle with removing stains from white clothing, but with the right techniques, you can restore your shirt to its pristine condition. From everyday common household products to specialized stain removers, we’ll walk you through different strategies to combat those pesky marks.
By the end of this post, you’ll be equipped with practical tips and tricks to tackle stains head-on. Say goodbye to the worry of ruining your white garments and hello to a fresh, clean look every time. So, roll up your sleeves and let’s dive into the world of stain removal for white shirts together!
Identifying the Stain Type
When it comes to getting a stain out of a white shirt, the first step is identifying the type of stain you are dealing with. Different stains require different treatment methods to ensure successful removal. Here’s how to identify common stain types:

Food and Beverage Stains
Food and beverage stains are some of the most common culprits when it comes to staining white shirts. Whether it’s a splash of coffee, a drip of tomato sauce, or a smudge of chocolate, these stains can be stubborn. Food stains can often be greasy or colored, making them stand out on white fabric.
Oil-Based Stains
Oil-based stains like grease or salad dressing can be tricky to remove from a white shirt. These stains typically create a darker patch on the fabric and can be challenging to lift without the right treatment.
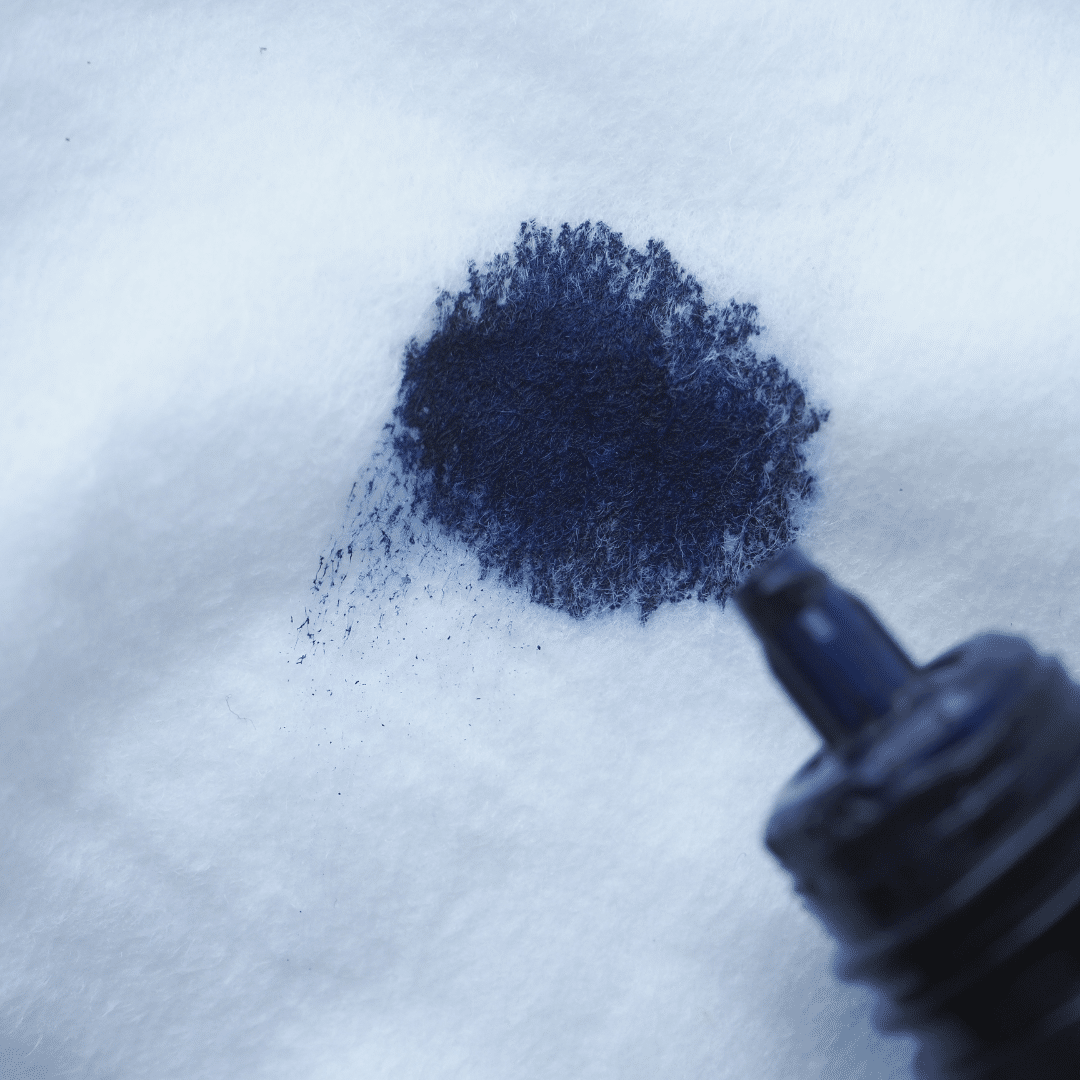
Ink Stains
Ink stains, whether from a leaky pen or printer mishap, are some of the toughest stains can be a nightmare on white clothing. They often leave behind a bold mark that stands out starkly against the white fabric. Identifying ink stains early can help in effectively treating and removing them.
Grass and Mud Stains
Grass and mud stains are common, especially if you spend time outdoors. Grass stains can be green or yellowish, while mud stains are usually brown and gritty. Knowing how to differentiate between the two can guide you in the stain removal process.
Identifying the specific type of stain on your white shirt is the first step towards successful stain removal. Each type requires a targeted approach for the best results.
Pre-Treating the Stain
Before tossing your stained white shirt into the washing machine, the key step is pre-treating the stain to ensure it comes out as good as new. Here are some effective methods for pre-treating stains:
Using Household Products
Household products like dish soap, baking soda, or white vinegar are fantastic for pre-treating stains on white shirts. Simply apply a small amount directly to the stained area and let it sit for a few minutes before laundering as usual. These common household items work wonders at breaking down and lifting stains.
Commercial Stain Removers
If you prefer ready-made solutions, commercial stain removers are a convenient option. Look for products specifically designed for white clothing stains and follow the instructions on the packaging. These stain removers are formulated to target and lift tough stains effectively.
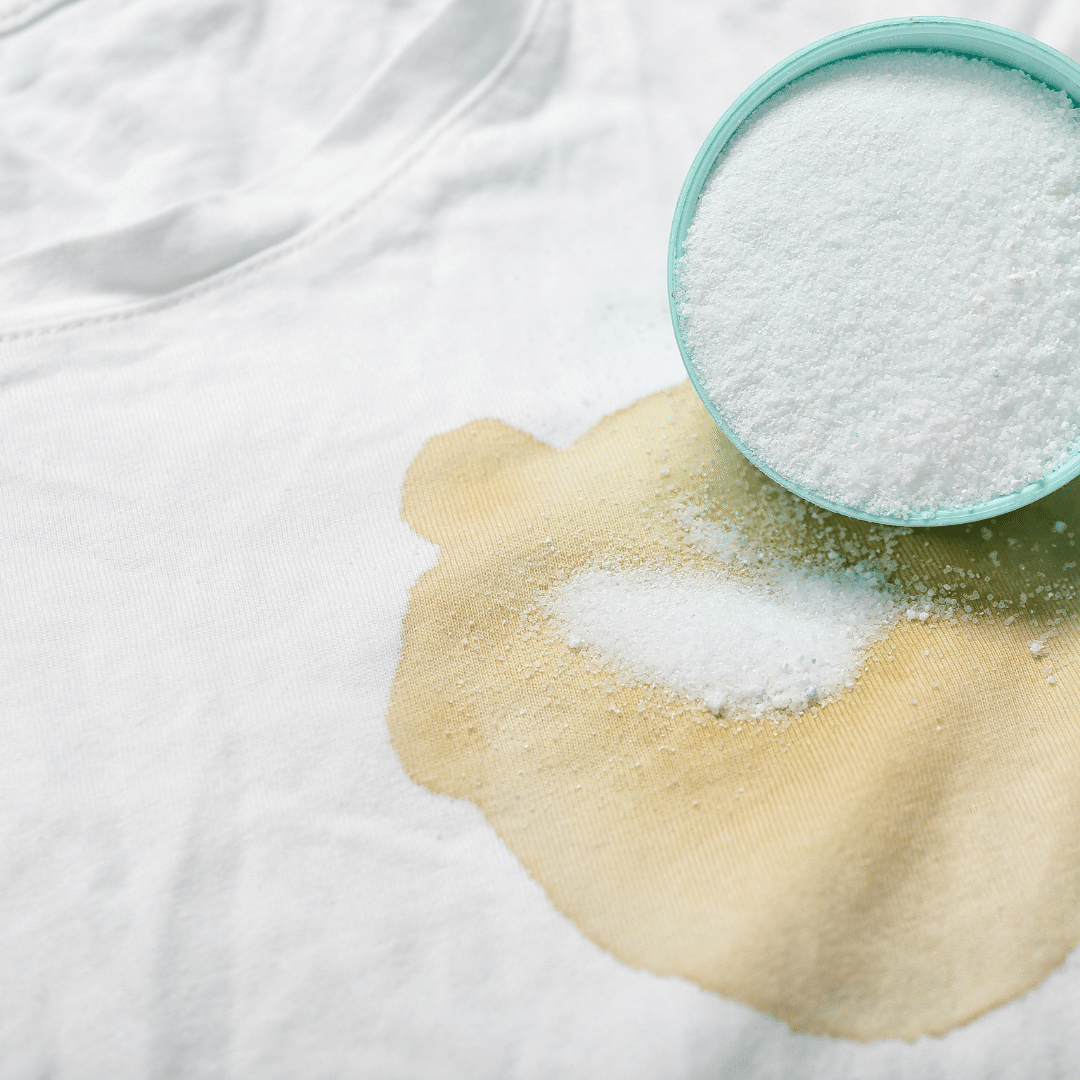
Natural Stain Removal Methods
For those inclined towards eco-friendly solutions, natural stain removal methods are a great choice. Lemon juice, salt, or even a cornstarch paste can be effective at treating stains on white shirts. These natural remedies are gentle on fabrics and the environment while still being tough on stains.
Pre-treating stains on your white shirts sets the stage for successful stain removal. Experiment with different methods to find what works best for your specific stains, and watch as your white shirts stay bright and clean for longer.
Applying the Stain Removal Technique
Got a stubborn stain on your favorite white shirt? Here’s how you can tackle it like a pro. Start by spot testing on a hidden area to ensure the fabric’s color won’t be affected. Once you’re in the clear, proceed by soaking the stained area in a mixture of lukewarm water and a gentle detergent. Let it sit for a few minutes to loosen up the stain.
Spot Testing on a Hidden Area
Before diving headfirst into stain removal, it’s crucial to perform a spot test on an inconspicuous part of the garment. This will help you determine whether the cleaning solution is safe to use on the fabric. Simply apply a small amount of the solution to a hidden area and blot it with a clean cloth. If there’s no color transfer or damage, you’re good to go.
Soaking the Stained Area
Once you’ve confirmed the cleaning solution is safe to use, it’s time to tackle the stain. Create a mixture of warm water and a mild detergent. Submerge the stained area in the solution and let it soak for at least 15-20 minutes. This will help break down the stain and make it easier to remove.
Gently Rubbing the Stain
After the stain has had time to soak, gently rub the fabric between your fingers. Avoid using rough or abrasive motions, as this can damage the fabric fibers. Instead, apply gentle pressure and work from the outside of the stain towards the center. Continue this process until the stain starts to lift.
Treat your white shirt with care and follow these simple steps to banish that pesky stain for good. Remember, patience and a gentle touch are key when it comes to stain removal. Now, go rescue that beloved white shirt from the brink of disaster!
Washing and Rinsing the Shirt
When it comes to dealing with stains on your favorite white shirt, the washing and rinsing process plays a crucial role. Here are some essential tips to ensure your shirt comes out looking as good as new.
Correct Water Temperature
Begin by checking the care label on your white shirt to determine the appropriate water temperature for washing. For most white garments, using hot water is effective in removing stains, especially those caused by oil-based stain or grease. However, if the stain is protein-based like blood or sweat, opt for cold water to prevent setting the stain further.
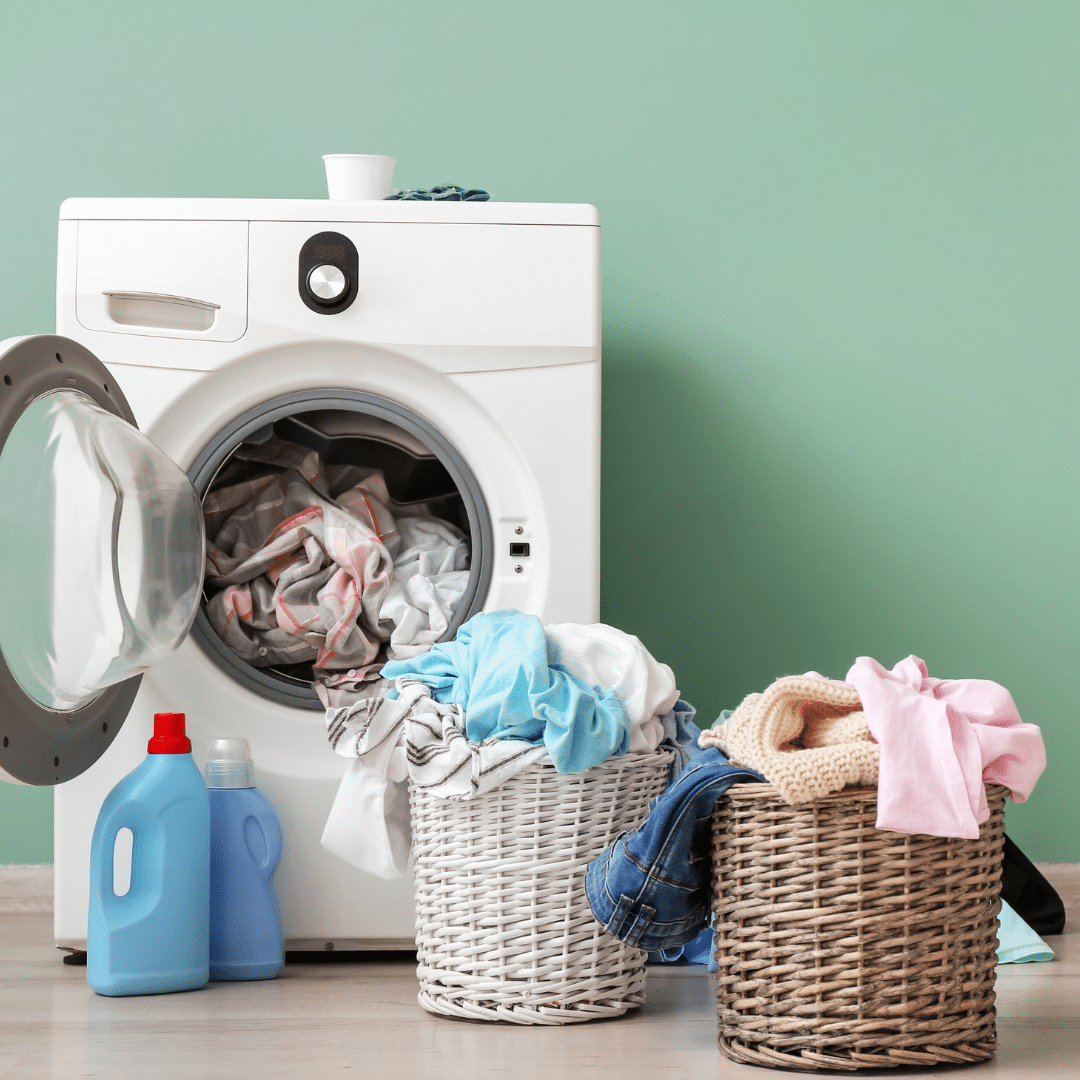
Choosing the Right Detergent
Selecting the right detergent is key to effectively removing stains from your white shirt. Look for a detergent specifically designed for whites to help brighten and maintain the fabric’s color. For tougher stains, pre-treating with a stain remover or using a detergent with enzymes can boost the cleaning power.
Air Dry or Machine Dry
Once your shirt has been washed and rinsed, it’s important to consider the drying method. Air drying your white shirt is often the gentlest option and helps prevent shrinkage or damage to delicate fabrics. However, if you’re short on time, using a dryer on a low heat setting can speed up the process. Just be sure to check the care label to ensure your shirt is dryer-safe.
By following these simple steps and paying attention to details like water temperature, detergent selection, and drying method, you can effectively tackle stains on your white shirts and keep them looking fresh and clean for longer.
Remember, proper care and attention during the washing and rinsing process can make all the difference in restoring your favorite white shirt to its former glory.
Checking for Stain Removal Success
Before tossing your white shirt in the dryer, take a moment to inspect the stain removal success. This simple step can save you from the disappointment of finding the stain set in after drying.
Inspecting the Shirt Before Drying
Run a quick check over the area where the stain was. If the stain appears to be completely gone, you’re good to go. However, if there’s still a hint of the stain remaining, avoid putting it in the dryer as the heat can set the stain permanently.
Ensure the stained area is completely clear of any discoloration before moving on to the drying process. It’s better to be safe than sorry when it comes to preserving your white shirt’s pristine appearance.
Repeating the Stain Removal Process if Necessary
If upon inspection you notice that the stain hasn’t fully vanished, it’s time for a second round of stain removal. Don’t fret; this is quite common, especially for tougher stains. Repeating the stain removal process with a bit of patience and elbow grease can often do the trick.
Apply the stain removal solution once more to the affected area, gently scrub, and rinse thoroughly. By giving the stain another go before drying, you increase the likelihood of achieving that spotless white shirt you desire.
Remember, a little extra effort now can save you the hassle of dealing with a stubborn stain later on. Checking for stain removal success before drying is a crucial step in ensuring your white shirt stays pristine and spotless.
Final Tips for Stain-Free Shirts
After learning about tackling stains on your white shirts, it’s crucial to remember some final tips to ensure your shirts remain pristine. Here are some additional pointers to keep your garments looking fresh and clean:
Immediate Action on Fresh Stains
When you encounter a fresh stain on your white shirt, it’s essential to act quickly. Blot the stain gently with a clean cloth or paper towel to absorb excess liquid. Avoid rubbing the stain vigorously, as this can further embed it into the fabric. Pre-treating the stain with a stain remover or a mixture of detergent and water can also help prevent it from setting in.
Regular Maintenance and Inspection
To prevent stubborn stains from ruining your white shirts, make it a habit to inspect them regularly. Check for any lingering stains or spots after each wash and treat them promptly. Consider using a color-safe bleach alternative or brightening agent during laundry to maintain the vibrancy of your whites. Additionally, storing your white shirts separately from colored garments can prevent color transfer and maintain their brightness over time.
Professional Help for Stubborn Stains
For particularly stubborn stains that refuse to budge, seeking professional help may be the best solution. Professional dry cleaners have the expertise and specialized cleaning agents to tackle tough stains without damaging the fabric. Be sure to point out the specific stains to the cleaners so they can apply the appropriate treatment methods. Investing in professional cleaning for your white shirts occasionally can help prolong their lifespan and keep them looking like new.
By following these final tips for stain-free shirts, you can maintain the pristine appearance of your white garments and enjoy wearing them for years to come. Remember, a little care and attention go a long way in preserving the beauty of your favorite white shirts.
Conclusion
Getting a stubborn stain out of your favorite white shirt can be a daunting task, but with the right techniques and products, you can restore it to its former glory. Remember to act fast when dealing with stains, as the longer you wait, the harder they are to remove.
Using household items like baking soda and vinegar can work wonders in lifting tough stains, while commercial stain removers are also a reliable option. Don’t forget to always spot-test a small inconspicuous area of your shirt before applying any cleaning solution to avoid damaging the fabric.
Incorporating these stain-fighting tips into your white laundry routine will ensure that your white shirts stay pristine and fresh-looking for many wears to come. So, don’t let a little accident ruin your favorite outfit – tackle those stains head-on and show them who’s boss!
Share this
Popular products
-
 Women's Mystery Shoe Box
$175.00 – $1,000.00
Women's Mystery Shoe Box
$175.00 – $1,000.00
-
 Men's Mystery Shoe Box
$175.00 – $1,000.00
Men's Mystery Shoe Box
$175.00 – $1,000.00
-
 5 Item per month
$74.00 / month
5 Item per month
$74.00 / month
-
 10 Item per month
$125.00 / month
10 Item per month
$125.00 / month